


I distressed all the chipboard in this layout, like the Just the 2 of Us
title shown here, using the same technique of unevenly dabbing each
piece with different color distress inks to give it a marbled effect.


With white gesso, a little purple Smooch paint and some textured paste, I made the little flowers of the Corner Flower Vines match the different flower clusters all around the page.

I LOVE everything doily-related and this Doily Border
is certainly no exception. It is one of my favorite pieces of the
entire 2Crafty variety. I find it looks gorgeous against the painted
corrugated cardboard strip at the bottom of my layout.

I cut my 2nd piece of Corner Flower Vines using only the longer side and saving the leftover piece for another project.
 You can see on here closer details of the textured background using the mask and embossing paste. I lightly dabbed green ink over the design.
Layout #2
A Mother is a Special Kind of Friend


I love my MOM! I can honestly say that she is my best friend so the title A Mother is a Special Kind of Friend (which was also covered in gold Perfect Pearls) was a perfect fit for this beautiful picture of me and her! :)
So, are you excited as I am about 2Crafty Chipboard?!? Let your local scrapbooking store know about them so you can be creating with all their gorgeous designs too.
Come back in a couple days for Part 2!

Layout #2
A Mother is a Special Kind of Friend

They
say that everything that glitters is not gold... well, it sure IS on
this layout! :) When I first started creating this page, I had no
intention of putting any gold tint on it whatsoever - it was going to be
all browns and black. Little did I know what my scrapbooking Muse had
in mind!
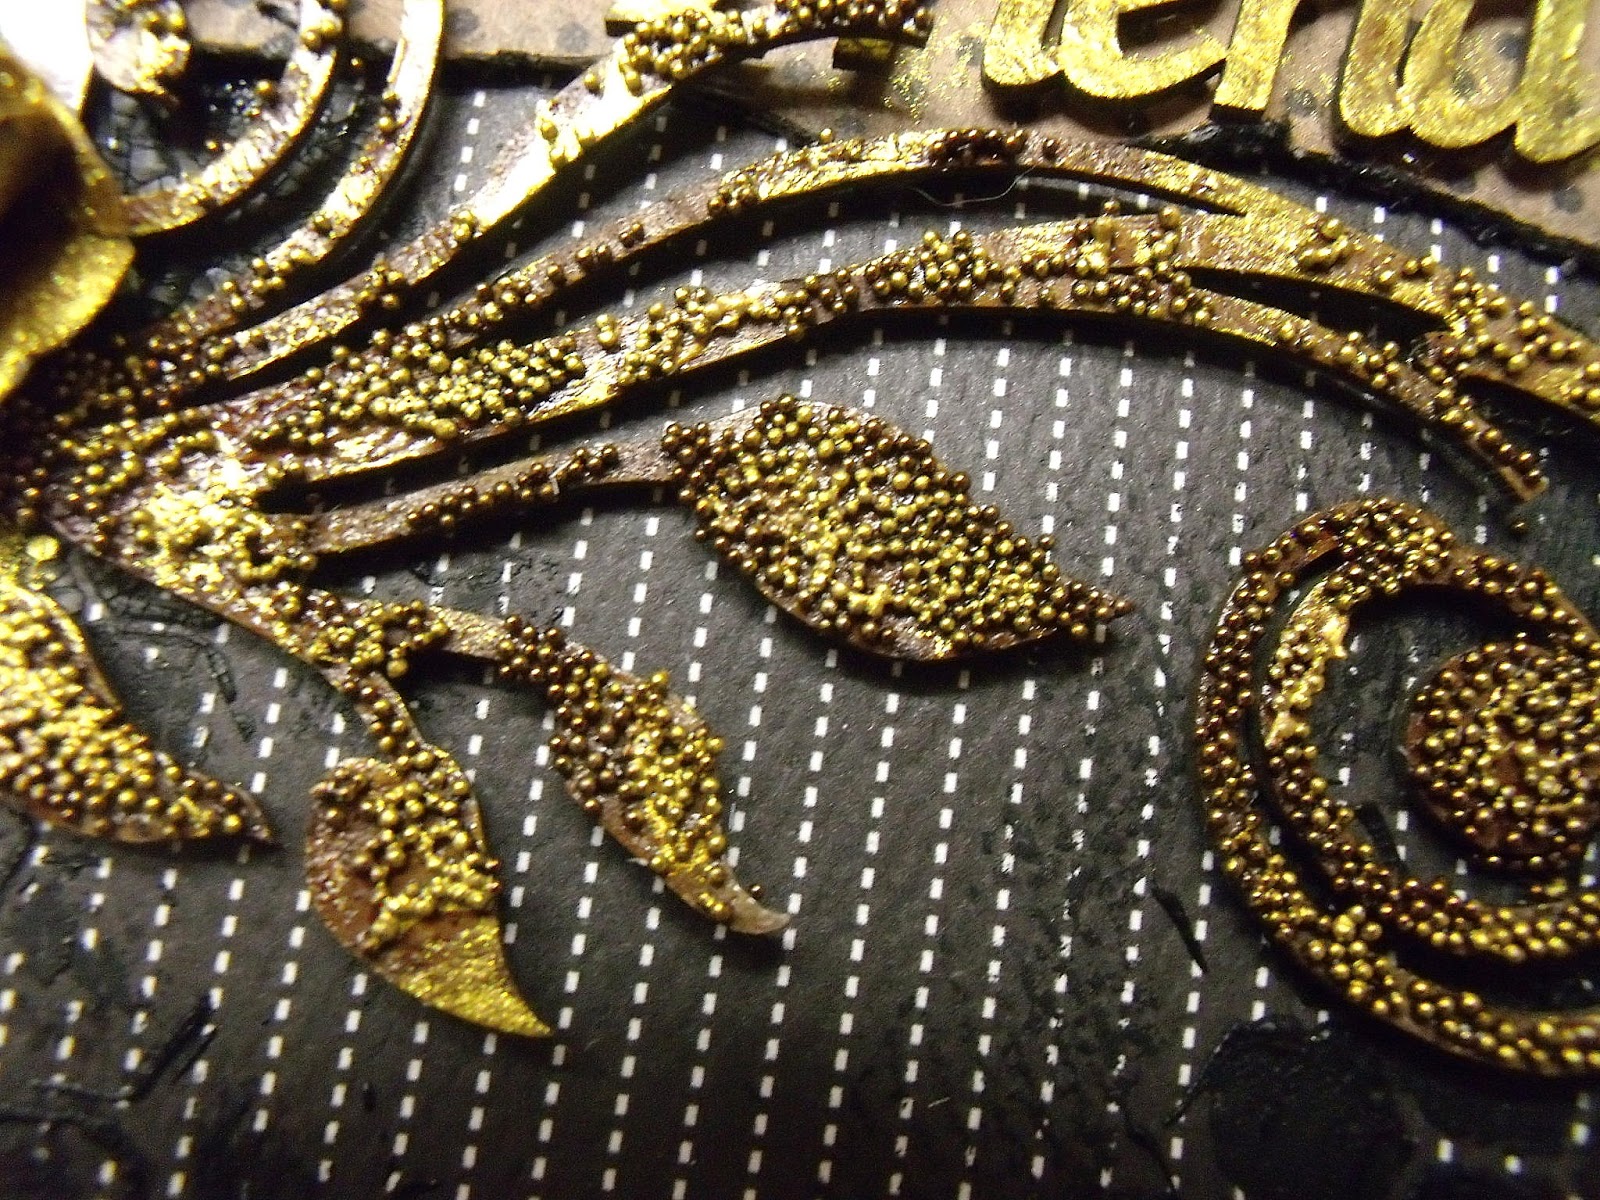
It all started with these Corner Whispy Vines,
and whispy they sure are! For the first time, I decided to experiment
with microbeads. After putting a thick coat of brown acrylic paint on
my chipboard, I added a little glaze and then sprinkled some brown beads
on top. After the chipboard was dry, I wanted to make the beads stand
out more so I started by dabbing just a little gold Perfect Pearls here
and there. And that's when my Muse took over and went GOLD crazy!
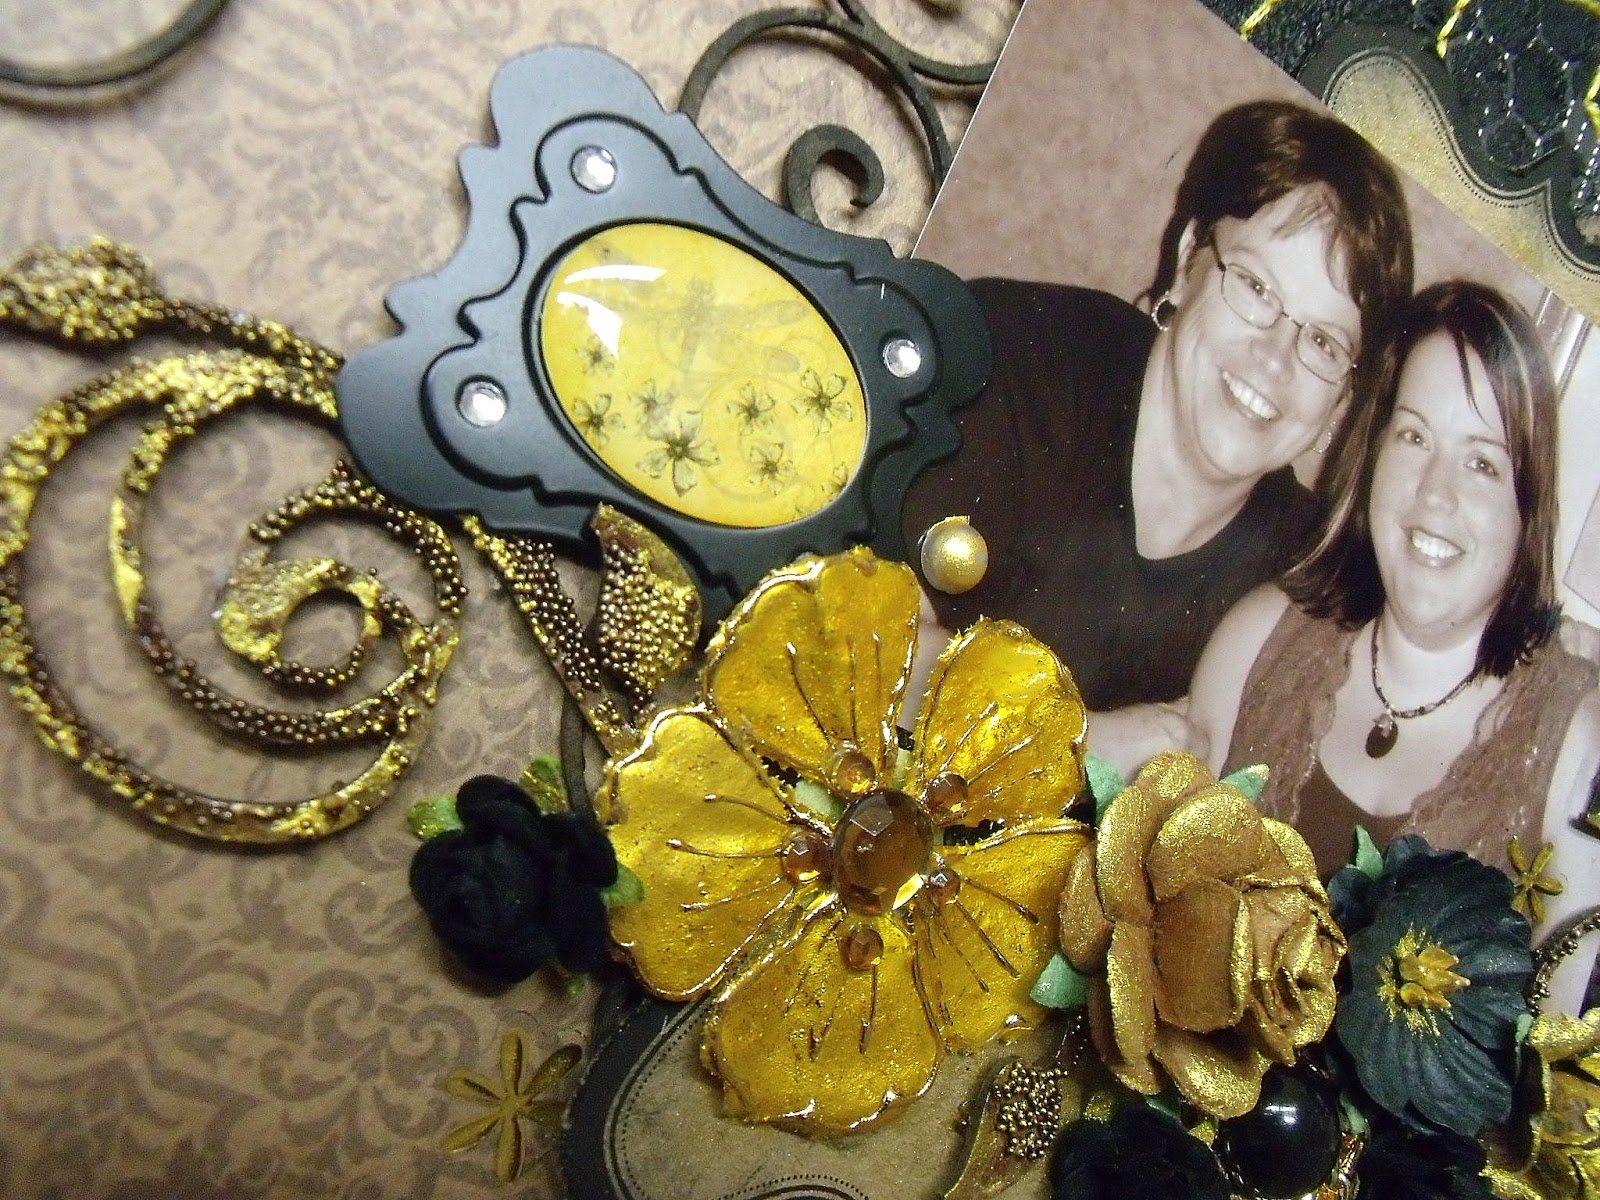

I then added more gold to chipboard, the flowers, the doilies, the pearls, etc...

Even these Cutesy Dragonflies were covered in gold, as well as their stitched swirly paths.

I used the same hexagon mask on the background of this layout as on my previous one, this time with black crackle paint. The Round Flourish Frame was cut in 2 pieces and covered with distress ink, then dabbed with brown and gold chalk.

I love my MOM! I can honestly say that she is my best friend so the title A Mother is a Special Kind of Friend (which was also covered in gold Perfect Pearls) was a perfect fit for this beautiful picture of me and her! :)
So, are you excited as I am about 2Crafty Chipboard?!? Let your local scrapbooking store know about them so you can be creating with all their gorgeous designs too.
Come back in a couple days for Part 2!

Such beautiful creations Nic...just love all your gorgeous details!
ReplyDeleteNicole your layouts are beyond stunning. I adore the colours and detail in the first one and the techniques on the 2nd one are inspiring. Fabulous and congratulations on your 1st reveal for 2Crafty.
ReplyDeleteSaw your projects on the 2Crafty Chipboard site, came here and absolutely love your work so I've become a follower. Looking forward to seeing more of your art.
ReplyDeleteOh Nicole, your details are quite exquisite.
ReplyDelete