


How exciting it is for me today to share with you my very first
Daily ART DT project on their blog and right here on mine!
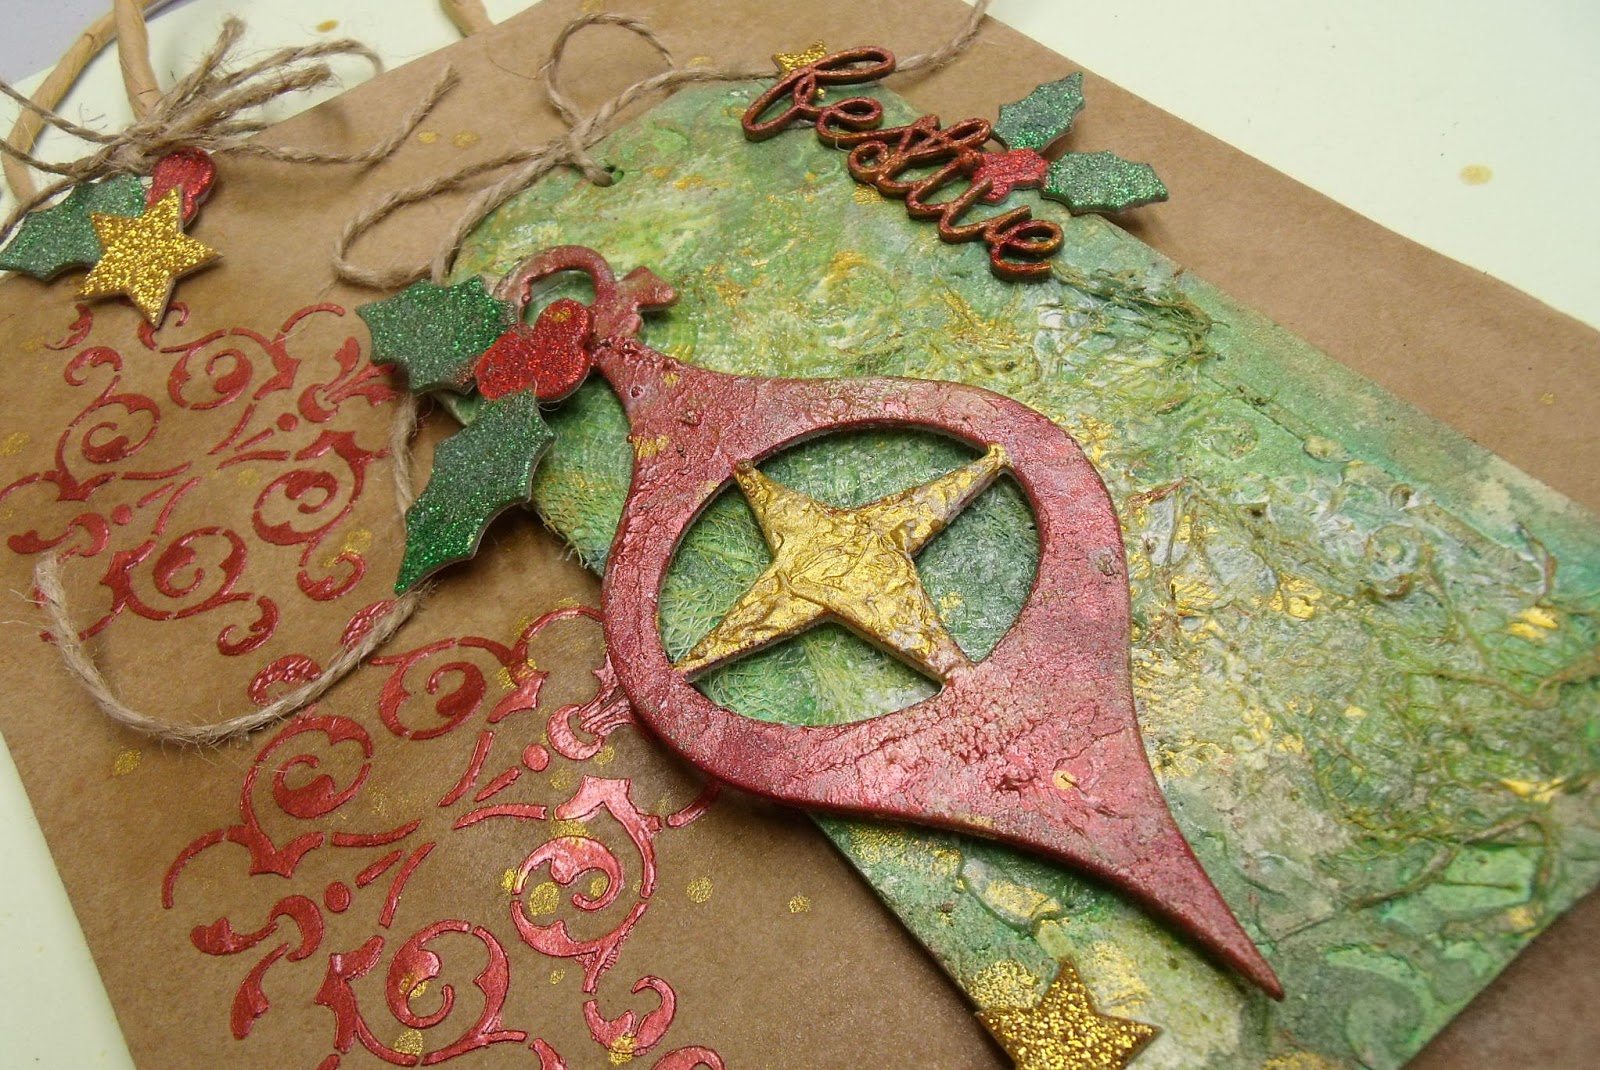
Here is a photo tutorial on how I created this Christmas gift set with bag and card.

I started with creating the tag for the gift bag. I covered a Hardboard Tag #6
with White Gesso over which I applied some Fine Texture Paste with
the Vintage C Stencil. This paste is perfect for adding just the right amount
of texture to any project. I then used my heat gun to dry it all up.

Next came time to have fun with some different sprays.
To create the base of my tag, I used a combination of Vintage Nestle Leaf
and Glossy Olive and Cut Grass. I sprayed and then blended with a sponge
until I got the desired effect and colour. I then dried it with my heat gun.

I wasn't quite finished with the tag. I dabbed a bit of Red Chameleon Patina
and then spread with my pallet knife a bit of Malachite Velvet Paste. I adore Velvet Paste!
Then, to add even more texture, I added some cheese cloth which I glued
down using Gel Medium Gloss and then I sprayed some more Olive Glossy Ink.

I covered my chipboard embellishments with first Dark Red Acrylic Paint
and then some Pearl Red Stencil Paste to add a little shimmer. Some of
the chipboard was already glittery, but I just added some more
using Red Glitter Paste, Gold Stencil Paste and Transparent Glossy Varnish Spray.

Now that my tag was pretty much complete, it was then time to work on the bag.
I wanted to keep it simple and classy so I just added the Vintage N stencil design
with the Pearl Red Stencil Paste along the side of the bag. I sprinkled some Gold Glimmer
Ink Spray and added a few chipboard decorations before sticking my tag onto it.

As for my card, I treated the corrugated base similarly as my tag.
I stuck down some cheesecloth using Fine Texture Paste and Gel Medium Gloss,
and then I went a bit crazy with the different shades of Green and Snow White Inks.

I put my sentiment on a cardstock tag and added some decorations.
I finished by spraying a bit of Transparent Glossy Varnish on the card and the bag.

This is my finished card with some close-ups.

And here is my gift bag featuring the mixed media hardboard tag.

I hope you've enjoyed my tutorial and that you are now inspired
to create your own special Christmas gift set for a special someone!
Here is the complete list of all Daily ART products used...

MEDIUMS, STENCILS & MORE

PAINTS, PASTES & SPRAYS
If you want to learn much more about all Daily ART products, visit their website HERE.

No comments:
Post a Comment