http://scrap-utopia.blogspot.com.auhttp://scrap-utopia.blogspot.com.au/p/scrapbooking-resume.htmlhttp://scrap-utopia.blogspot.com.au/p/gallery.htmlhttp://scrap-utopia.blogspot.com.au/p/design-teams.html

Sunday, February 23, 2014

Don't Worry Be Happy (Scrap & Music #22)

Scrap & Music is revealing their challenge #22 today.


The song inspiration comes from the legendary Bob Marley with Don't Worry Be Happy,
definitely some great scrapbooking title and journaling material.


When i hear this Bob Marley classic, i think sunshine, beach and bright colors.


I hope you'll play along with us! :)

Monday, February 17, 2014

Together (SATW & Sketchabilitites)

I loved the February Mood Board so much at Scrap Around the World that i decided to play along twice.


While my first layout was very bright and fun, this one is more elegant and romantic.

It was also based on gorgeous Sketch#109 from Sketchabilities.


I was inspired by the purple and pink colors, the hearts, the touch of gold on the flower pots, and of course, the overall theme of LOVE.


All the chipboard used is from 2Crafty and include the Together title and the Chevron Bits, covered with white acrylic paint and then dabbed with Luminarte Silk Glaze, as well as the new Leafy Shrub Set 1 and the Flourish Adornment Set 5 on which I sprinkled microbeads and then painted in white with touches of gold.


I'm very happy with this layout and am so grateful to Scrap Around the World and Sketchabilities for the inspiration!

Sunday, February 16, 2014

Love This Sweet Girl (My Creative Sketches)

It's time for a new sketch challenge over at My Creative Sketches.


Another sketch, another gorgeous prize up for grabs!

Click HERE for all the details on how to enter.

One of my layouts created with the February Main kit from My Creative Scrapbook and already shared with you during my MCS DT reveal was inspired by this sketch.


Click HERE to see more close-ups.


Monday, February 10, 2014

Making Your Own Pillow Box (MCS Tutorial Day)

One of the many projects I was able to create with the fun and adorable February Main kit from My Creative Scrapbook was this special Valentine gift set for my nieces Ella and Daphne which included Kisses-filled "Pillow Boxes".


You have undoubtedly seen the fancy punches and dies that enable you to create such pillow boxes.  They are easy to use, but can be quite expensive.  
I will show you today how to create your own pillow box from scratch.

First, cut your patterned paper into a 6" square.

Using your paper cutter and a scoring tool, score your paper vertically at 2 1/2 inches.
 

Moving 2 1/2 inches left (5 inches from the start of your paper square), score again.  You will be left with a 1/2 inch tab at the end.

Put the scored square aside for now.

Cut a 2 1/2 inch by 1 inch rectangle out of sturdy cardstock. a

Use a 3 1/2 inch circle as a tracing tool (I used a circle die fitting that size), line it up against one half of the rectangle and trace the circle's outside edge with a pencil. Do the same on the other side.

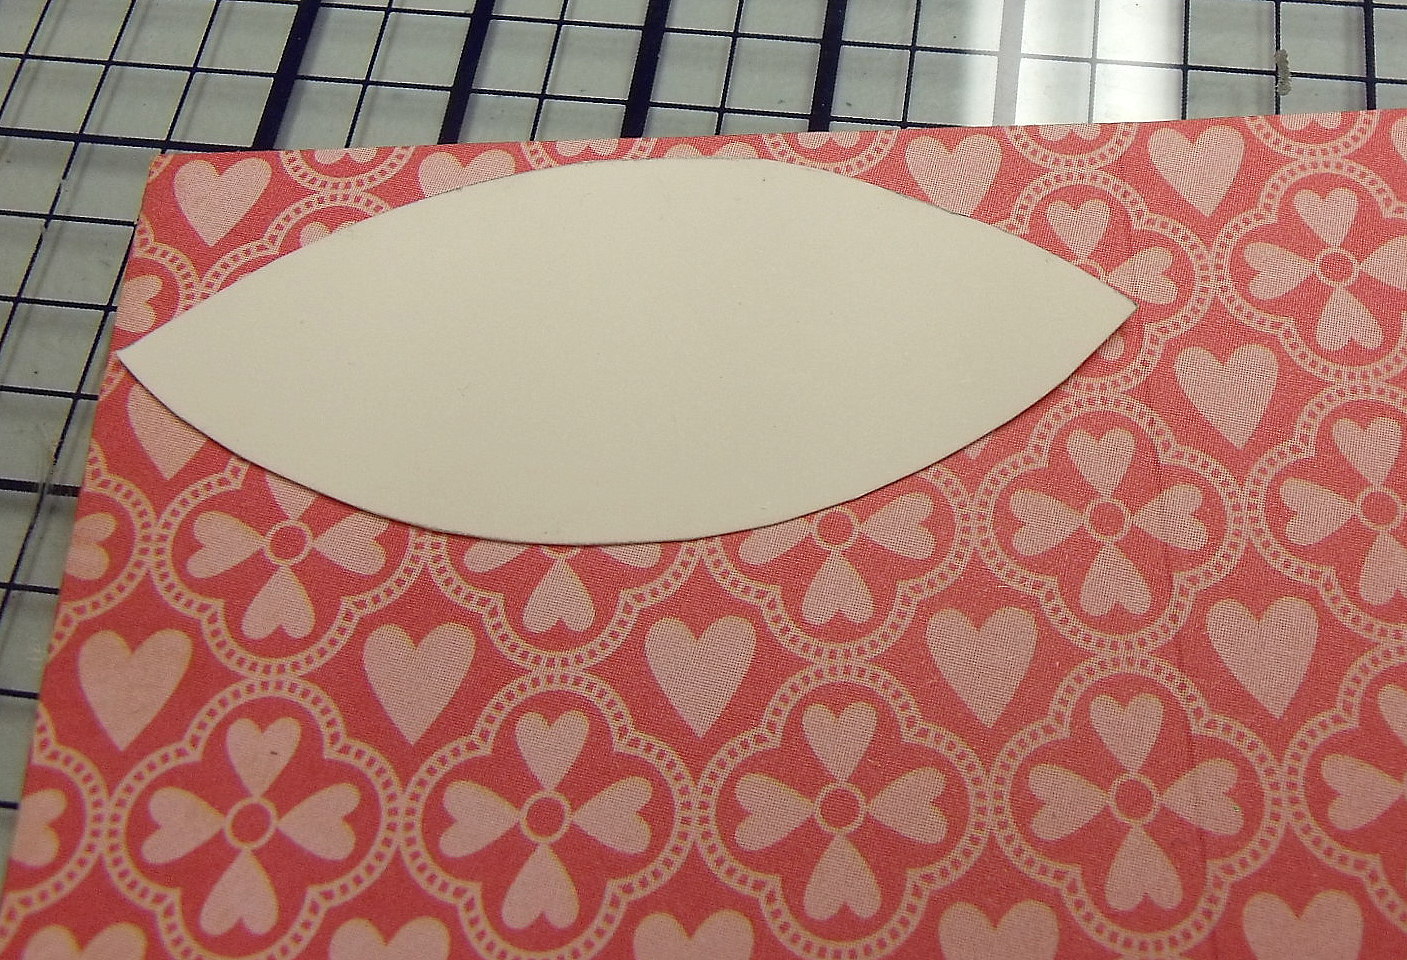
Cut along the traced lines and your cardstock shape will end up looking like this.

Using the cardstock as template, line it up along the top edge of your patterned paper square in between the two scored lines. Trace with a pencil along the top curve of the template and score along the bottom curve.  Repeat this in between the next 2 lines of your square and on the last smaller part.

When you cut along the penciled line, your edge will look like this.  The last smaller part needs to be cut along the bottom curve.
 

Do the same along the bottom edge of the square.

Fold along all the scored vertical lines and crease.

Add glue on the small end piece.  Fold the box unto itself, adhering the small tab behind the larger one.

Cut or punch (using small circle punch) thumb notches on each end.

Use your fingers to fold the curved score line, thumb notch tab down first.  Insert candy and close the other end of your pillow box.

Then, all there is left to do is to decorate your box with stickers, ribbon, twine, flowers, sentiment, whatever your heart desires. :)

Visit My Creative Scrapbook to see their wonderful kits and daily inspiration from the DT!

Sunday, February 9, 2014

Cheer Queens (Scrap & Music #21)

It's time for another challenge over at Scrap & Music.


 Let's go back to the 70's and sing along to ABBA's Dancing Queen.


Not dancing queens, but CHEER QUEENS, my nieces Ella and Daphne are both in their local cheer team and they love it.


The layout features the beautiful Crate Paper's Flea Market collection. 

Click HERE to join in on the Scrap & Music challenge!

Friday, February 7, 2014

Attached @ The Heart (2Crafty DT Reveal - Part 2)

I'm here today to share another layout featuring 2Crafty chipboard.  You can see my full reveal over on the 2Crafty blog.


This layout was inspired by this Valentine-themed mood board over at Scrap Around The World.  I loved the bright colors of the first image and tried to incorporate each one.  The last image with the beautiful flower pots with gold accents really inspired me to add touches of gold throughout my page.  The Crate Paper Flea Market collection seemed like the perfect choice.  And of course, being that this is the month of love, i had to include hearts!

  I also took inspiration from 2 Scrappy Friends challenges which are GrandDiva's Creative Corner's lovely sketch:

and Rochelle Spears' Tic Tac Toe challenge:
I always love a good Tic Tac Toe challenge!  I decided to go with the 2nd line across and used stitching, heart(s) and tulle on my layout.

Now let's take a look at some details of my layout and all the 2Crafty chipboard used.

I love the "Sisters Are Attached @ the Heart" title and I knew that it would fit perfectly with this picture of my nieces Ella and Daphne being silly and having fun together.

 The "Winged Hearts" set is a must-have for any Valentine-themed project.

If you love flowers as I do, you will love the "Daisy Flower" pack - you get 6 beautiful daisies which you can paint or mist any way you want to.  I simply painted mine with pink acrylic paint.

Banners have been such a huge scrapbooking trend in 2013 and the trend is not over.
Here you can see I used some pieces from the "Scallop Circle Bunting" set.

And there you go, 1 beautiful picture, 3 awesome challenges,  and loads of chipboard!

Visit the 2Crafty store to see all of their designs!

Thursday, February 6, 2014

We Adore You Two (2Crafty DT Reveal - Part 1)

It's time for my DT reveal over at the 2Crafty blog where i share with you 3 layouts featuring many wonderful 2Crafty chipboard pieces.
 
Right in the midst of a cold white Winter here in Canada, I thought I'd go bright, bold and beautiful with my creations for 2Crafty this month, starting with this very Summer-inspired layout.
 
 This is a brand new layout inspired by the February challenge at Once Upon a Sketch as well as the Mixed Media challenge over at Berry71bleu.

As you know, every Once Upon a Sketch challenge is about adding journalling onto your layout.  This month's journalling theme is "Totally addicted to...", and this is the beautiful sketch that was provided as inspiration:

I added my journalling on a tag that i slipped behind the picture.


Over at Berry71bleu, the February challenge is to mix it up with 'mixed media'!
I did just that, using a variety of products to add texture and colour to my layout, from molding paste, embossing powder, gesso, glimmer mist, acrylic glaze to paint.

 For the title, I combined the "Adore You" piece with some "Dainty Alphabet"
which I heat embossed with black embossing enamel.

You see here a beautiful peacock "Feather" along with the "Leafy Silhouettes"
tucked behind my flowers.  They were treated with molding paste and acrylic silk glaze.
And lining the right edge of my layout are the "Evan's Swirls".
 
A few of "Sharon's Butterflies" were the perfect add-on 
for this whimsical Summery layout.

 I love all of 2Crafty Adornment sets...  The purple piece comes from "Adornment Set 3".

Come back tomorrow for some more 2Crafty inspiration!